
Overview
Integrating with Microsoft Graph API can provide a wealth of user contextual attributes, insights and risks, which can substantially enrich the data provided to the OutThink platform. This information can be used to positively contribute to OutThink’s Human Risk Intelligence processes, and provide enhanced insights and recommendations for employees and/or department/organization level decision making.
It is important to ensure that automatic user synchronization has been set-up between OutThink and your Microsoft Entra ID (Azure AD) instance before configuring access to Graph API. This ensures that OutThink and your Microsoft Azure tenant are correlated in terms of user identities. You can read more about this here.
The following permissions will be required on your Microsoft Azure Tenant to undertake the actions undertaken in this article:
- Application Developer
Required to create an application registration in the Microsoft Azure Portal. - Global Administrator, Privileged Role Administrator or a custom directory role that includes the permission to Grant Admin Consent to the application.
You will also need to be an OutThink administrator, with access to your tenancy via the Command Centre at https://cc.outthink.io.
Create New Registration
- Login to the Microsoft Azure Portal, and search for App Registrations.
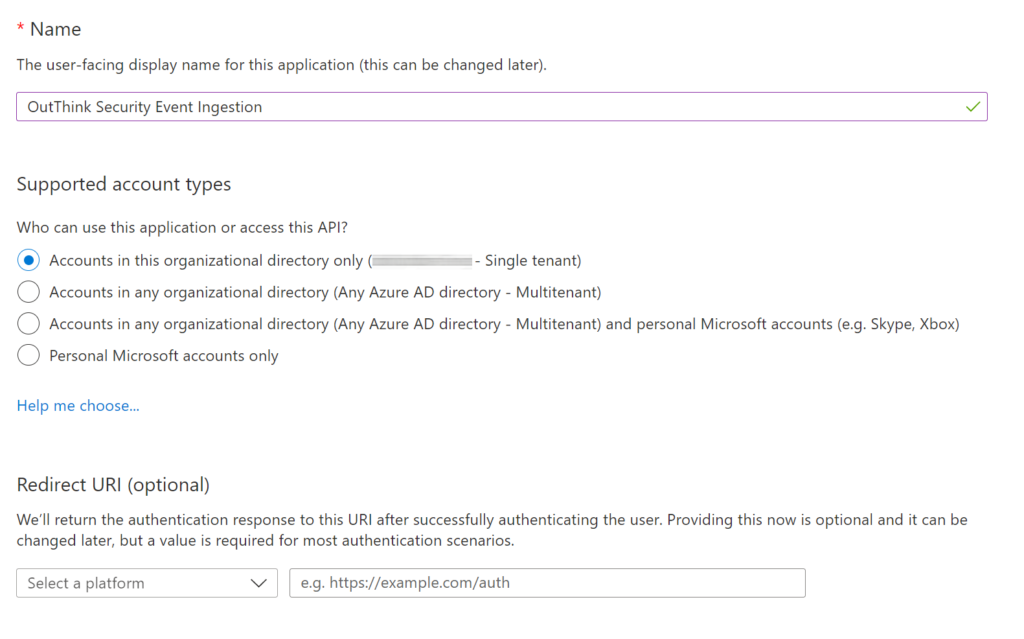
- Click + New Registration and enter an appropriate name for this application.
Set the Supported Account Type to Accounts in this organizational directory only.
Click Register.
- In the App Registrations page, select the new application you just created.
- Under Manage on the left menu, select Certificates & secrets, and click the + New client secret button.
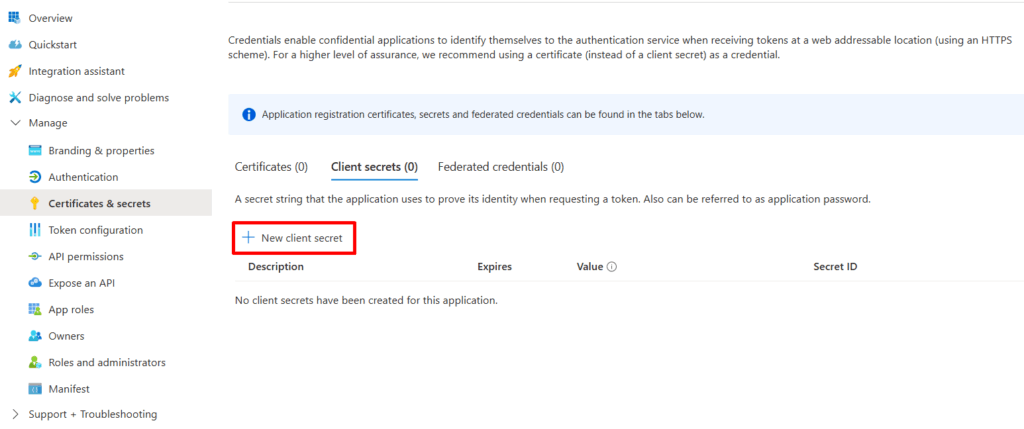
- Add a relevant Description for the secret, and choose an appropriate Expiry period.
Whenever this secret expires, a new secret will need to be created, so it is recommended to select a period long enough that this does not present a management overhead. - Copy the secret Value to a secure location. You will need this later.
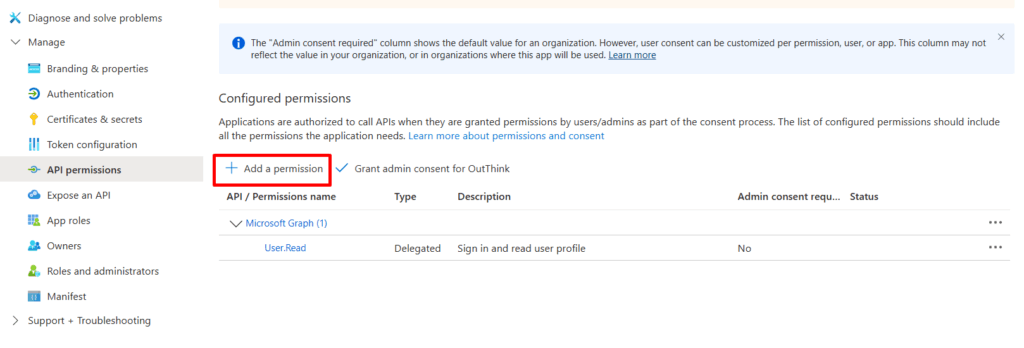
Note: You do not need the Secret ID. - The next step is to define the Graph API permissions that this application will be configured to use. Select API permissions on the left menu, then click + Add a permission.
- On the fly-out that appears, select Microsoft Graph under the Microsoft APIs tab, then select Application permissions.
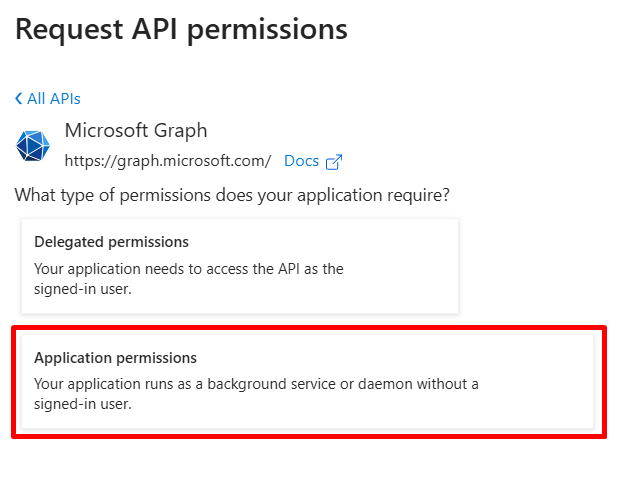
- Under Select Permissions check the permissions that you would like to include in the app, according to the details below. When finished, hit the Add permissions button.
What permissions should be granted?
You have the flexibility to grant OutThink specific permissions to enhance your users’ data within the platform according to your requirements. You can independently add permissions to access detailed data points, which you’ll later need to activate within the platform integration (details provided below).
- Users.Read.All
Enriches the user’s data with:
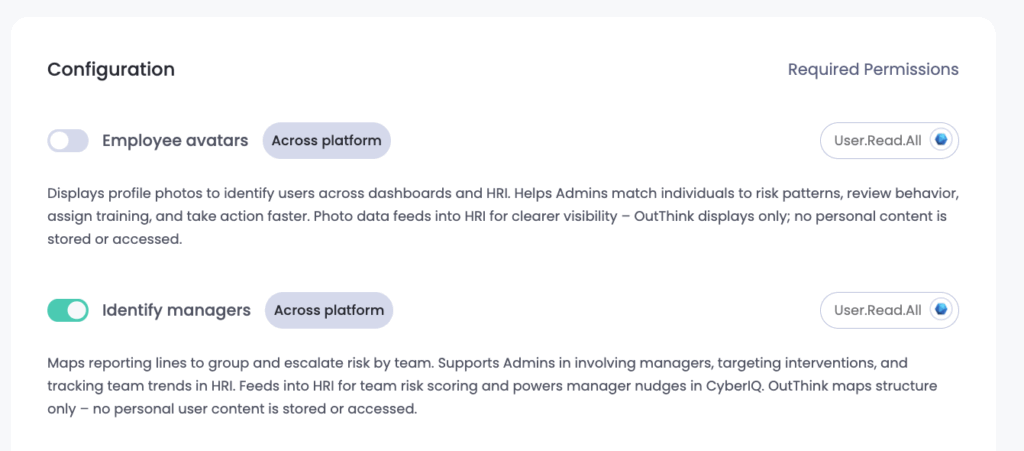
– Employee avatars: Displays profile photos to identify users across dashboards and Human Risk Intelligence (HRI). Helps to match individuals to risk patterns, review behaviour, assign training, and take action faster.
– Identify managers: Maps reporting lines to groups and escalates risk by team. Supports in involving managers, targeting interventions, and tracking team trends in HRI. Feeds into HRI for team risk scoring and powers manager-focussed nudges in CyberIQ.
– Line manager information: Retrieves manager relationships to enable team-level insights and actions. Drives team HRI scores, powers manager-focussed nudges in CyberIQ, and groups results in Phishing & Security Awareness Training. - MailboxSettings.Read
Enriches the user’s data with:
– Out of office: Detects out of office status to avoid skewed training and phishing metrics. Improves accuracy in SAT and phishing simulations by filtering out absent users from reporting.
– Working hours: Tracks user activity timing to reveal context behind risky behavior. Improves SAT and phishing simulation insights by aligning performance with working hours. - Mail.ReadBasic.All
Enriches the user’s data as follows:
– Allow bookings in the calendar: Checks user availability to optimise training and simulation timing. Improves engagement in SAT and Phishing Simulations by delivering notifications when users are active.
– Email fatigue: Analyzes email volume to detect user fatigue and phishing risk. Feeds into HRI for elevated risk scoring, optimizes timing of Phishing Simulations, and adapts training in SAT.
– Frequent cloud service users: Detects heavy cloud app usage to flag broader threat exposure. Adjusts HRI risk scores, tailors SAT paths, and refines Phishing Simulations involving cloud sharing or credential theft.
– Frequent social media users: Identifies high social media use to flag social engineering risk. Feeds into HRI scoring, tailors SAT content, and triggers relevant Phishing Simulation scenarios. - AuditLog.Read.All
Enriches the user’s data with:
– Elevated sign-in failures: Detects frequent sign-in failures to flag credential risk. Raises risk scores in HRI, triggers targeted SAT, and sharpens segmentation in Phishing Simulations.
– Remote work: Analyzes login locations to flag remote access risk. Feeds into HRI scoring, adapts SAT content, and enables location-aware Phishing Simulations. - DeviceManagementManagedDevices.Read.All
Enriches the user’s data with:
– Device at risk: Detects non-compliant or compromised devices to flag elevated breach risk. Adjusts HRI scores, prioritises SAT, and enables risk-based Phishing Simulations. - SecurityEvents.Read.All
Enriches the user’s data with:
– Defender Alert Integration: Provides concrete evidence of endpoint or cloud incidents by combining Microsoft Defender alerts with behavioral metrics from training and phishing simulations. This correlation highlights users showing both high-risk behavior and active incidents, strengthens CyberIQ mapping, and enriches HRI scores. - Reports.Read.All
Enriches the user’s data with:
– Workload Pattern Analysis: Analyzes workload patterns across email, Teams, and OneDrive to flag fatigue or high cloud reliance. Supports CyberIQ mapping, behavioral segmentation, and risk classification without accessing message content. - Directory.Read.All
Enriches the user’s data with:
– Administrator role: Identifies users with elevated privileges to surface critical risks faster. Adjusts HRI scoring, sharpens targeting in Phishing Simulations, and prioritizes training in Security Awareness Training. - IdentityRiskyUser.Read.All
Enriches the user’s data with:
– Risk integration: Ingests risk levels and reasons from Entra ID to flag compromised accounts early. Enriches HRI scores, separates risky from non-risky users, and enables targeted training. - Presence.Read.All
Enriches the user’s data with:
– Presence-Aware Engagement: Uses Microsoft presence data to time training and nudges effectively. Avoids disruptions, maps engagement patterns, and refines HRI with presence. OutThink checks user status before sending notifications to avoid disruptions. - Calendars.ReadBasic.All
Enriches the user’s data with:
– Upcoming travel: Detects scheduled travel to flag elevated short-term risk. Updates HRI scores, triggers pre-travel SAT, and adjusts Phishing Simulation timing and content. - People.Read.All
Enriches the user’s data with:
– Relevant colleagues: Identifies collaboration patterns to uncover peer-based risk. Supports HRI with influence maps, risk clusters, and peer comparison insights.
** OutThink processes only the minimum data necessary. The content of user emails, documents and messages is never read or stored. All data is encrypted in transit and at rest using enterprise-grade security algorithms. The retention of data aligns with your organisation’s compliance policies. You maintain full control and can revoke access permissions at any time.
The full list of permissions here:
User.Read.All
MailboxSettings.Read
Mail.ReadBasic.All
AuditLog.Read.All
DeviceManagementManagedDevices.Read.All
SecurityEvents.Read.All
Reports.Read.All
Directory.Read.All
IdentityRiskyUser.Read.All
Presence.Read.All
Calendars.ReadBasic.All
People.Read.All
For example:

Here is a thorough summary of each permission in relation to the response structure and permissions.
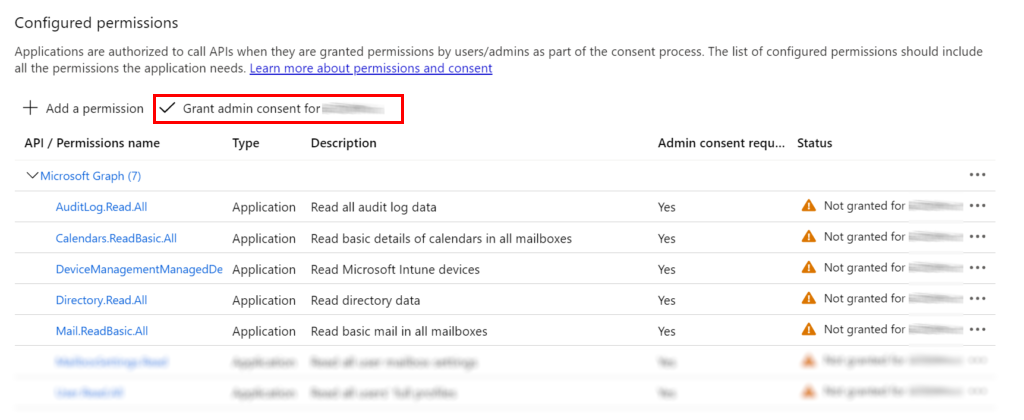
Grant Admin Consent
- As a final step in the application setup, you will need to Grant admin consent for your application. Click the “Grant admin consent for {organisation}” button, as shown below, and confirm.
If you do not have privileges to grant tenant-wide admin consent for this application, you can instead construct a URL and send to your tenant administrator, as detailed here.
Command Center Configuration
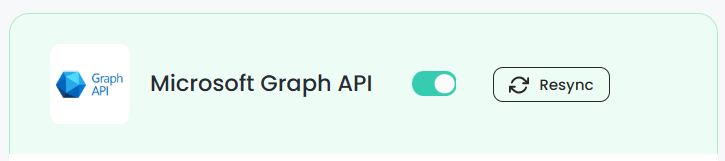
Navigate to the Settings section of the Command Centre, select the relevant Organization on the left hand side, then select the Integrations menu under Organization. Directly under the title Microsoft Graph API, ensure the option is Enabled and click the arrow icon to expand the options.
Expand the options further and populate the following fields:
Tenant ID – The Directory Id of your Entra ID Tenant. Refer here for assistance in finding this value.
Client ID (Application ID) – The Application ID of the App Registration created in the previous section. This can be found in the Overview section of the new App Registration.
Client Secret – The secret value copied and stored from the previous section.

Ensure that the option toggles are set for all the possible data that you wish to extract. For example, to retrieve manager data via Graph API, ensure that the “Identify Managers” option is toggled ON.
It is important to only select options which you have granted Graph API permissions for in the previous steps. It is advisable to just select the minimum data that you need for your use-case.
Finally, hit Save changes at the far bottom of the screen. Please be aware that it may take up to 24 hours for data from your Entra ID tenant to be ingested and processed.
Was this helpful?
7 / 0