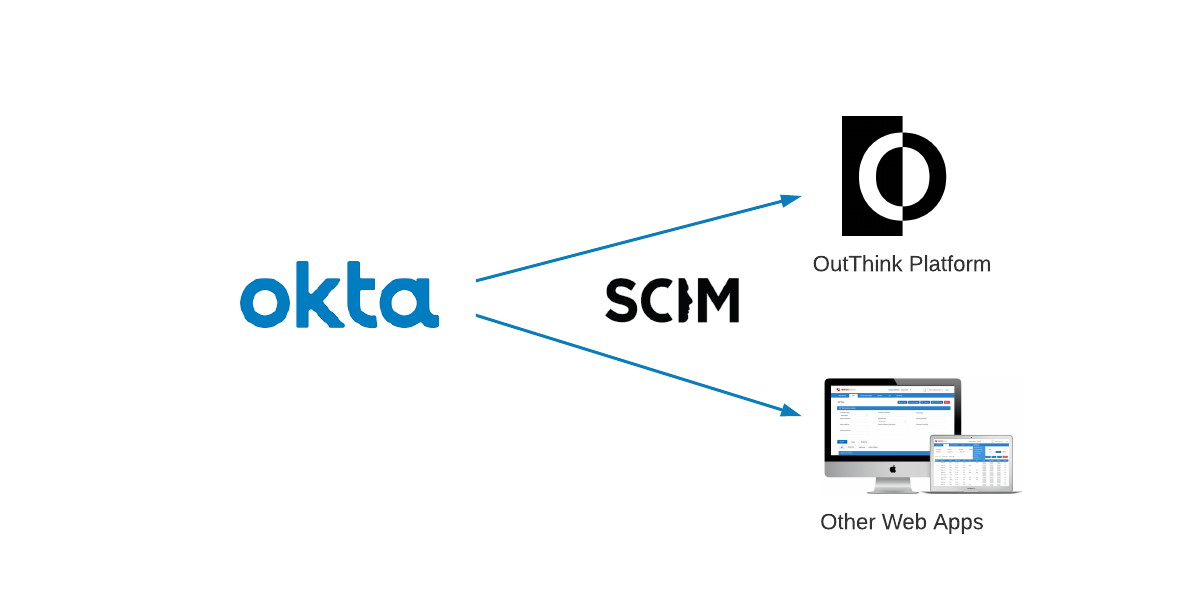
For customers using Okta as their Identity Provider, this section serves as a tutorial to setup the required synchronization with an Organization on the OutThink platform.

Create a new Okta Application
If necessary, the following procedure can be repeated any number of times to synchronize different user populations with different organizations or divisions, as modelled for your company in the OutThink system.
- Sign in to your Okta account as an Administrator, access the applications tab and click the Browse App Catalog button.
- Search for the SCIM 2.0 Test App (OAuth Bearer Token) application and click Add. Set the Application Label to OutThink and ensure all options are checked in the Application Visibility section. Click Next.
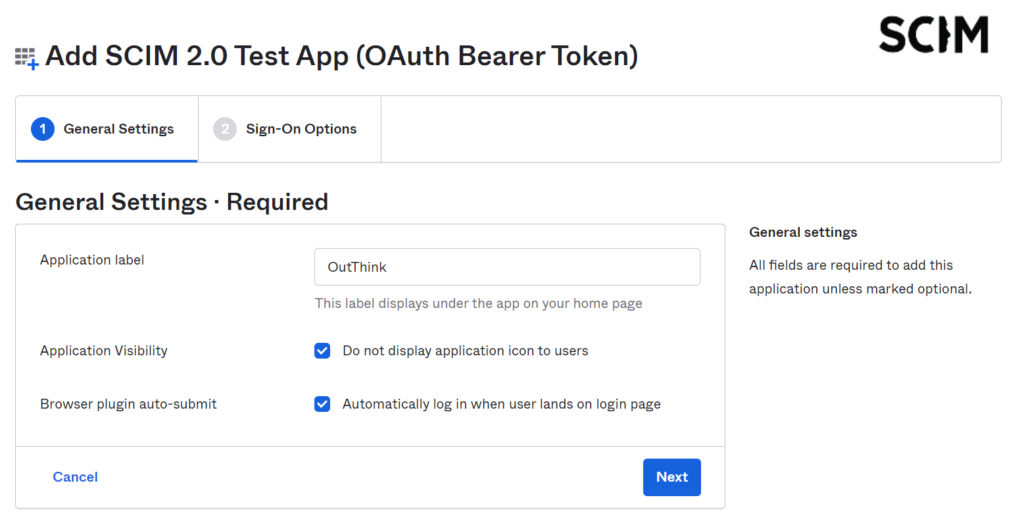
Note: SCIM Integration with OutThink provisions end-users (learners) only, therefore we do not want to implement Single Sign On authentication for this application, as only your administrators will be logging on.
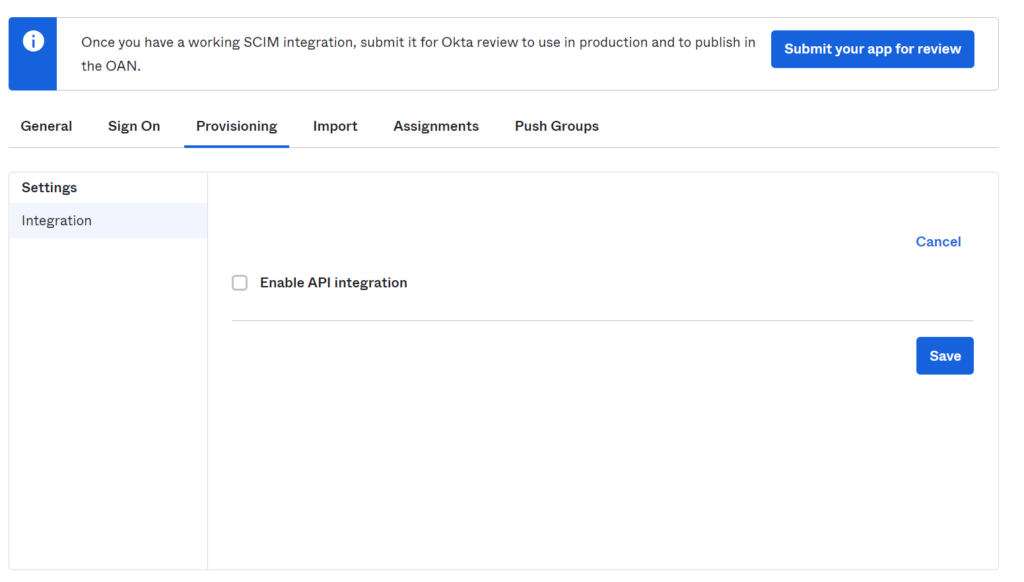
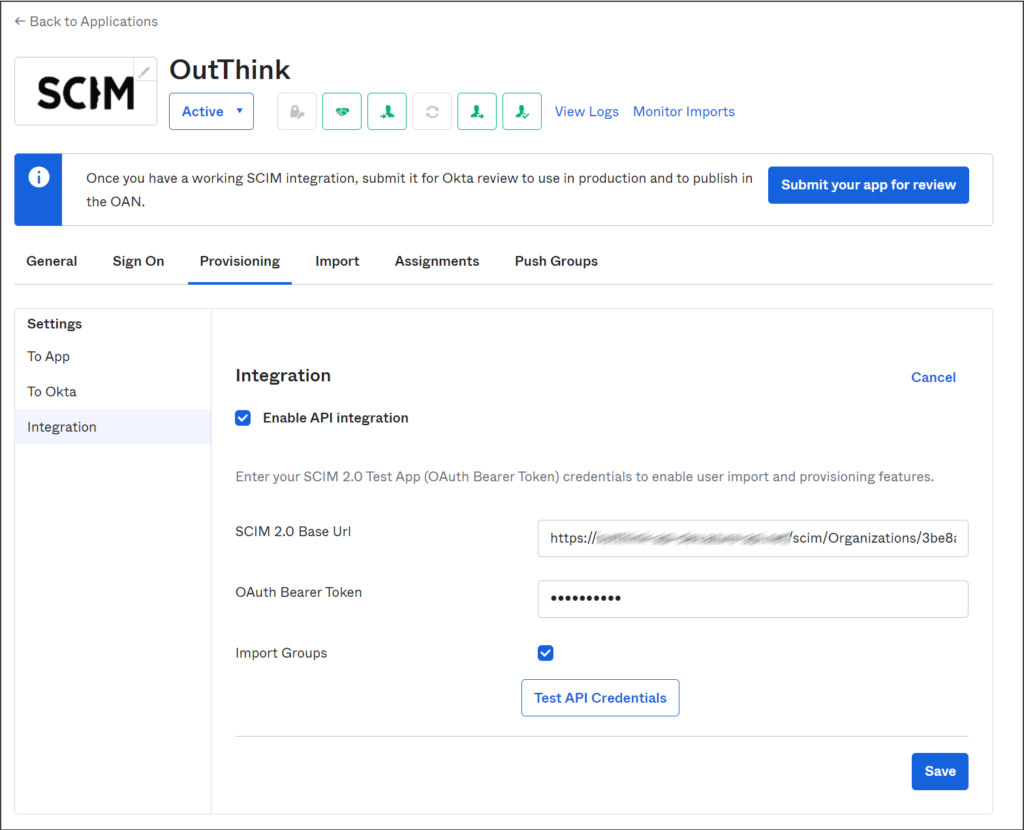
- At the subsequent screen, leave the SAML 2.0 settings at the default values, and select Done. Once the application is successfully created, select the Provisioning tab and check the Enable API Integration option.
- Set the SCIM 2.0 Base Url to your unique organization URL, as outlined in the Basic API Information section in the parent article. Contact OutThink to obtain your unique organization id.
- In the OAuth Bearer Token field, enter the token for your organization. Contact OutThink to obtain the token.
- Click Test API Credentials followed by Save.
- You can click Edit beside Provisioning to App. Ensure To App is highlighted on the left, and enable the checkboxes for Create Users, Update User Attributes, and Deactivate Users functions. Leave the Sync Password option as disabled. Click Save.
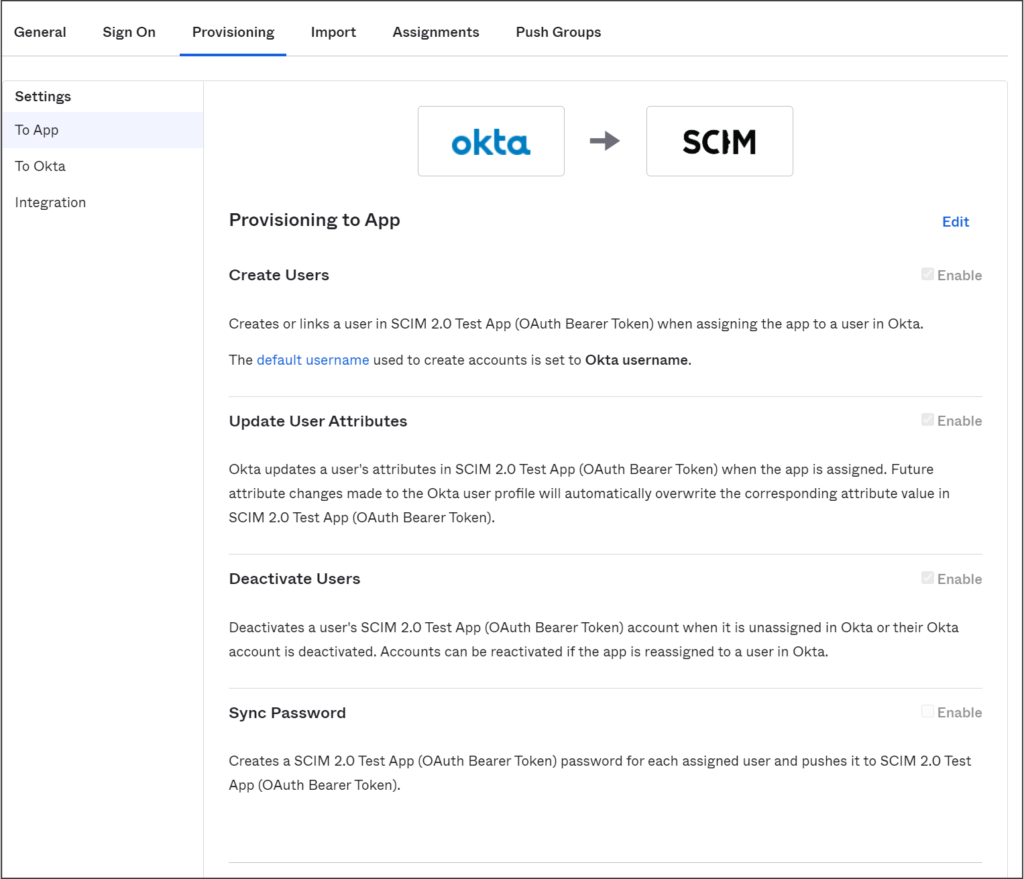

Creating User attributes
A single direction integration is required between Okta and OutThink. This means that changes made in Okta will be pushed to OutThink, and not vice versa. The OutThink platform has a requirement for some mandatory attributes to be sent from Okta, and other attributes (such as manager email address) remain optional.
Firstly, we will add a custom attribute to the Okta User Profile to handle the user’s job role, which isn’t provided as a base attribute.
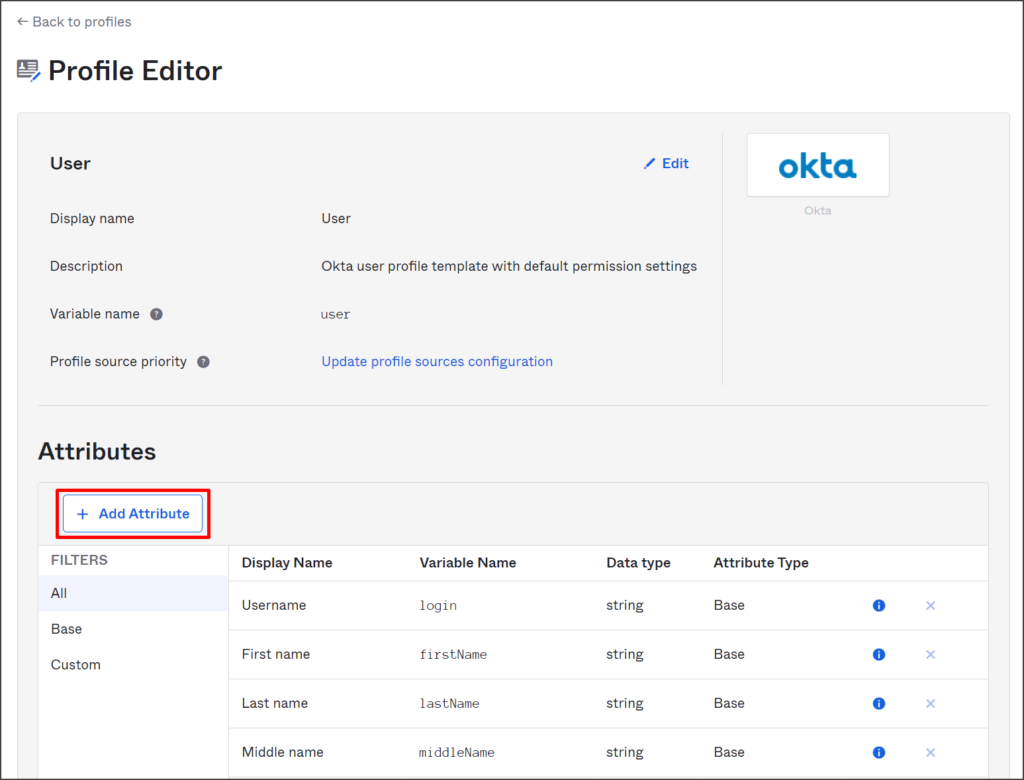
- From the Okta admin console, go to Directory > Profile Editor.
- Select the Okta filter on the left, select the Okta User (default) profile and then click Edit.
- Click the + Add Attribute button to add a role.
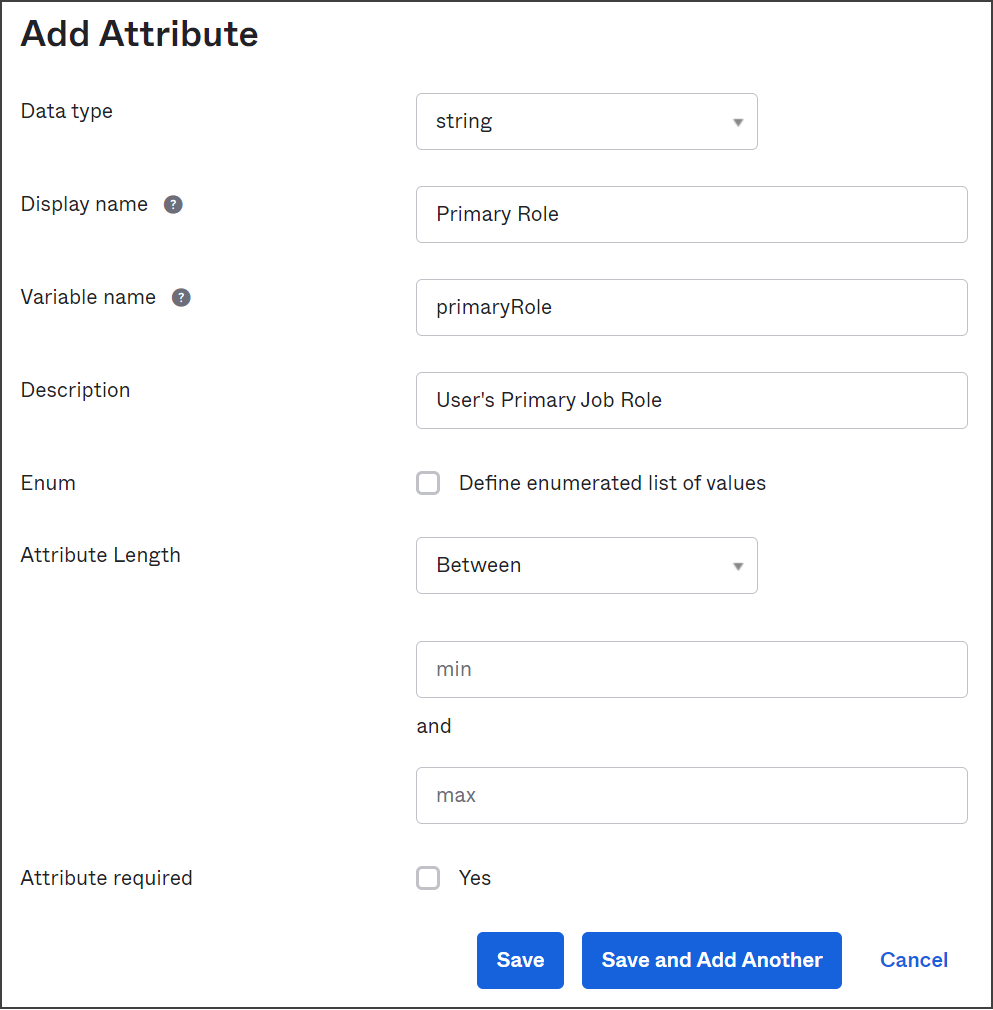
- In the Add Attribute dialog, give the role attribute a Display name and Variable name of
Primary roleandprimaryRolerespectively. - Click Save.
The next step is to add new attributes to the new OutThink User Profile.
- From the Okta admin console, go to Directory > Profile Editor.
- Select the Apps filter on the left, and click the OutThink User profile to edit the attributes.
- Find the roles and delete it using the x icon.
- Click the + Add Attribute button and add each of the following attributes, followed by Save.
Display name: Manager Email
Variable name: managerEmail
External name: emails.^[type==other].value
External namespace: urn:ietf:params:scim:schemas:core:2.0:User
Description: User Manager's Email Address
Scope: User personal

Display name: Country Name
Variable name: countryName
External name: addresses.^[type==work].country
External namespace: urn:ietf:params:scim:schemas:core:2.0:User
Description: User's Country (e.g. "GB", "US", "FR")
Scope: User personal

Display name: Primary Role
Variable name: primaryRole
External name: roles.^[primary==true].value
External namespace: urn:ietf:params:scim:schemas:core:2.0:User
Description: User's Primary Job Role
Scope: User personal

Mapping User attributes
Once the required new attributes have been created, we finally map the attributes available to Okta users, with the application attributes (SCIM). Only mapped attributes will be sent to the OutThink platform.
- From the Okta admin console, go to Directory > Profile Editor.
- Select the Apps filter on the left, and click the Mappings edit button for the OutThink User profile.
- On the screen that follows, ensure that Okta User to OutThink is selected at the top of the screen.
- For each of the available mappings, select the appropriate attribute on the left (Okta User Profile) with the corresponding attribute on the right (OutThink User Profile). This should correspond with the table below. You should select the Do Not Map option in Okta for any attribute not shown here.
| Okta User Profile | OutThink User Profile | Mandatory? |
| Username is set by OutThink | userName | Yes |
| user.email | Yes | |
| user.firstName | givenName | Yes |
| user.lastName | familyName | Yes |
| (user.email != null && user.email != ”) ? ‘work’ : ” | emailType | Yes |
| user.countryCode | countryName | No* |
| user.primaryRole | primaryRole | No* |
| user.department | department | No* |
| user.division | division | No |
| user.preferredLanguage | preferredLanguage | No |
| user.secondEmail | managerEmail | No |
* Whilst not strictly mandatory, these fields are highly recommended. If not provided, available results will be limited.
Note: user.secondEmail has been used above to store the manager’s email address, rather than use the Manager Object. This is a simple solution, but your organization may wish to use a different field to represent this attribute in Okta.

Assigning users to the application
- From the Okta admin console, go to Directory > Applications.
- Select the OutThink application.
- Go to the Assignments tab. Click the Assign dropdown button to assign the app to people or groups in your Okta account. When the user and group assignment is complete, these users and groups are added to OutThink. Separate groups won’t be created, only the users who are part of these groups get added to OutThink.
Was this helpful?
6 / 0